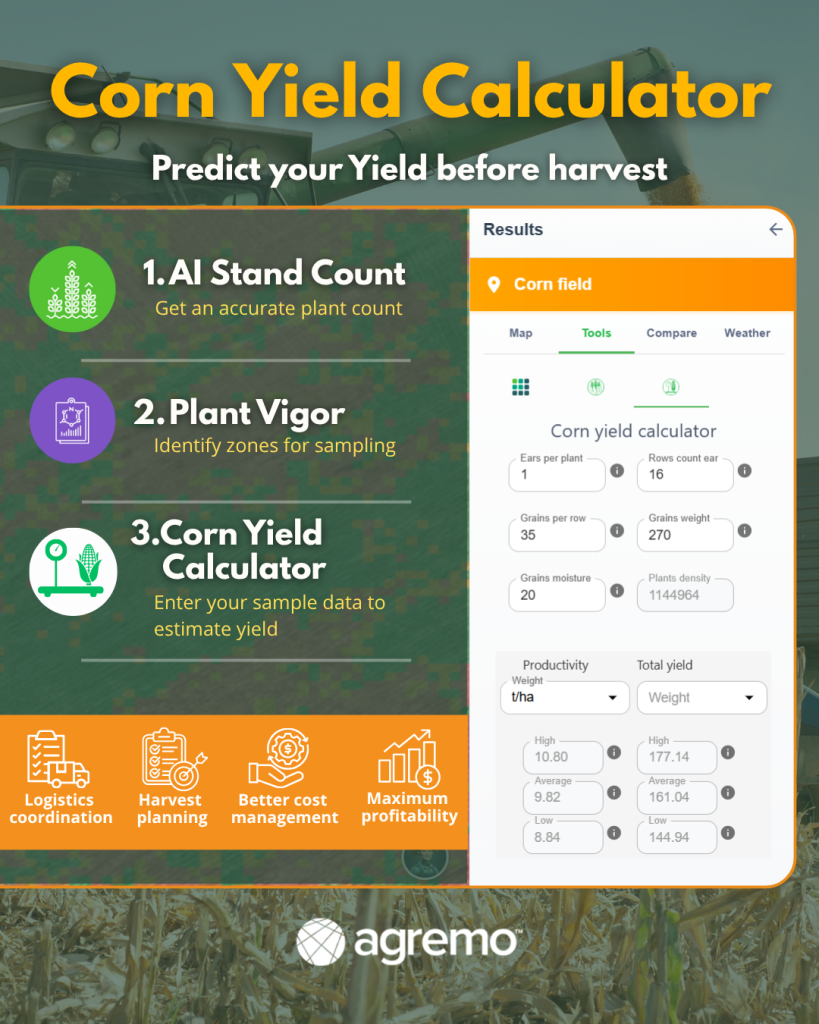
How to do?
The process to create field entries in Agremo is designed to be simple and efficient, allowing you to organize your agricultural data with precision.
Step 1
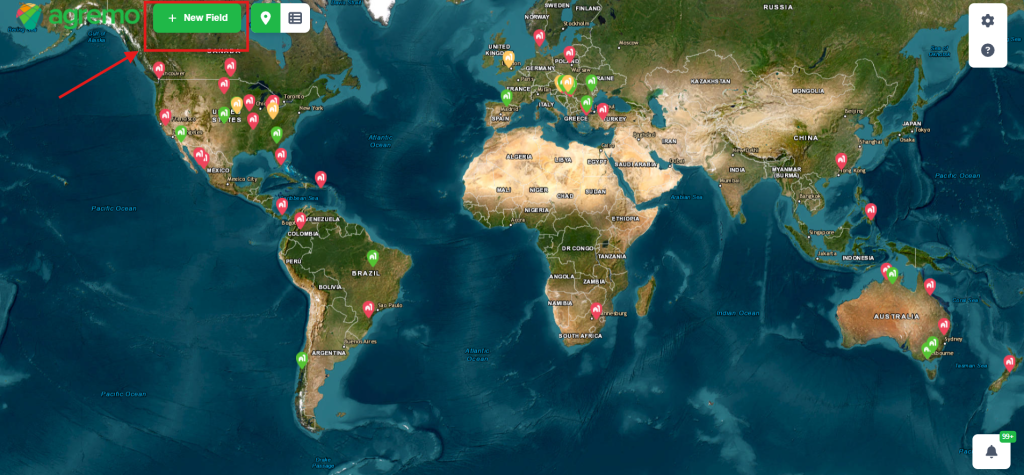
To add your first field, click the button New Field in the upper left corner:
 Step 2
By using the button shown in the image, you can easily create field boundaries by marking the edges of your land. Specifically, this tool allows you to draw the exact shape of your field directly on the map.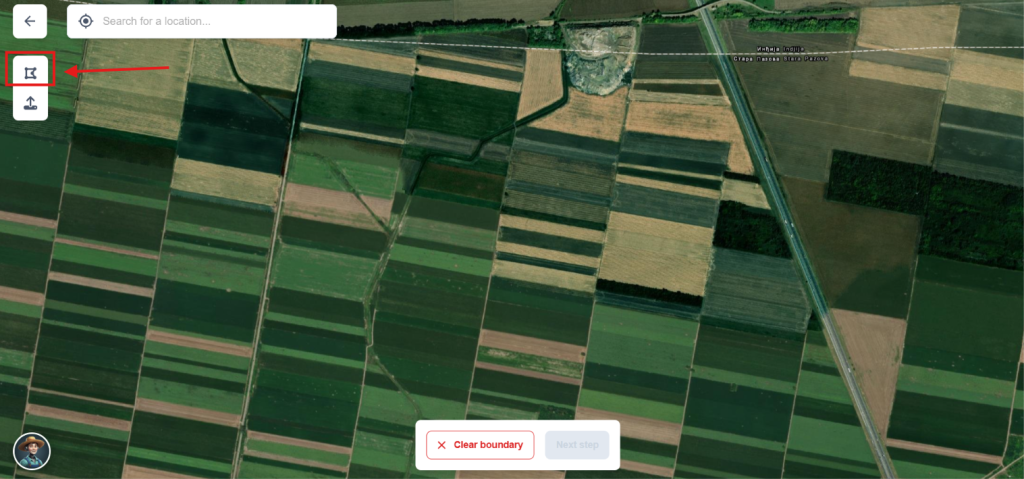 Step 3
The field’s location doesn’t have to be too precise, as it will be adjusted automatically based on the data from the georeferenced map. The purpose of entering a location is just to allow you to quickly find your fields and analyses when you log in next time.
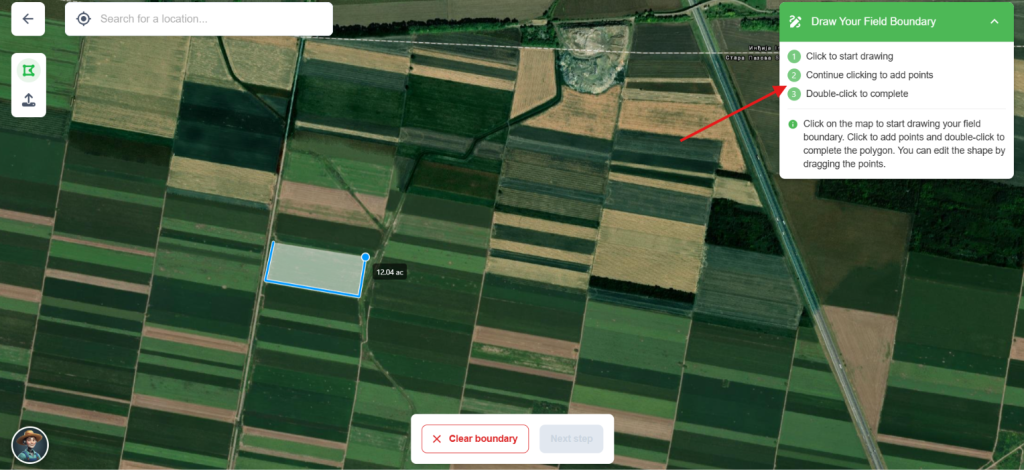
Once you draw a field boundary and confirm it, you cannot delete it. However, you can delete the whole field by clicking on the Delete option in the field list.
Step 4
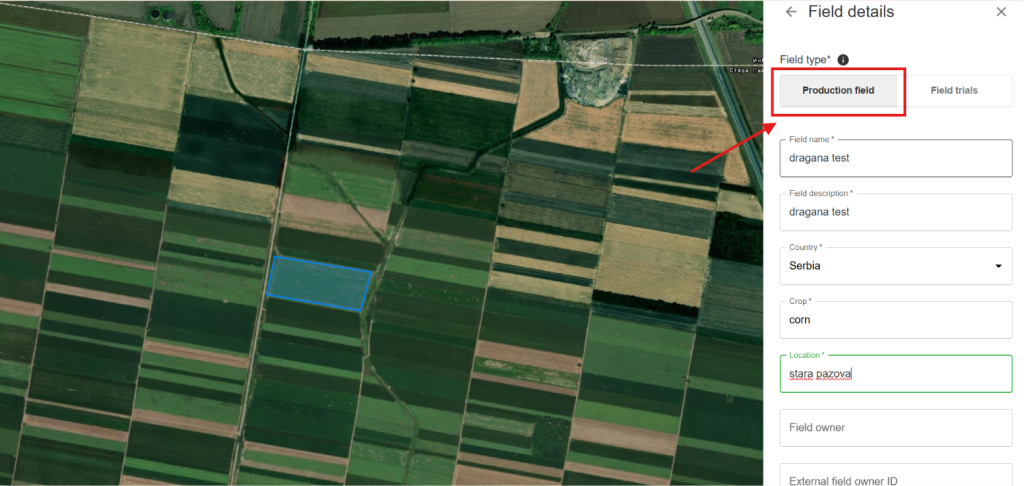
Once you create field boundaries, it is necessary to fill in the specific details located on the right side of your screen. Specifically, after you mark the production field, you must enter all the required information to successfully complete the entire step.
 Step 5
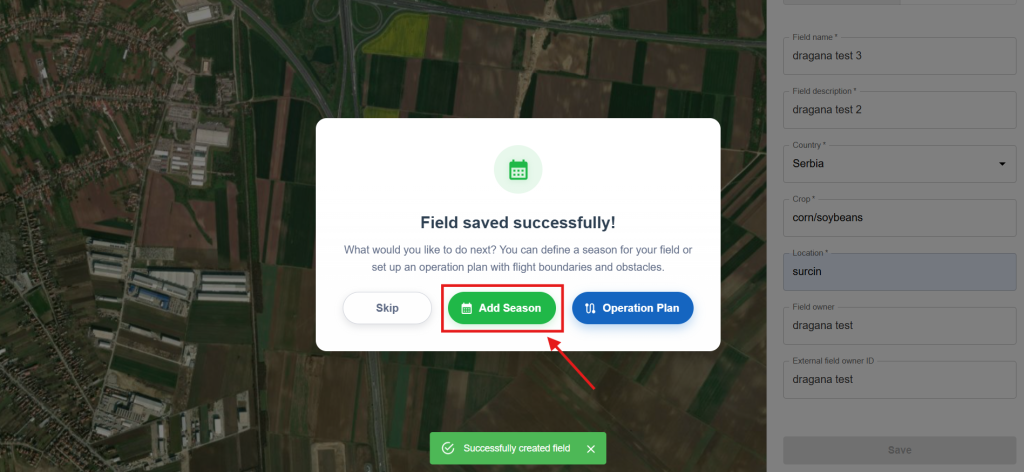
This step allows you to define a specific season for your data; however, please note that this option is entirely optional and not mandatory.
 Step 6
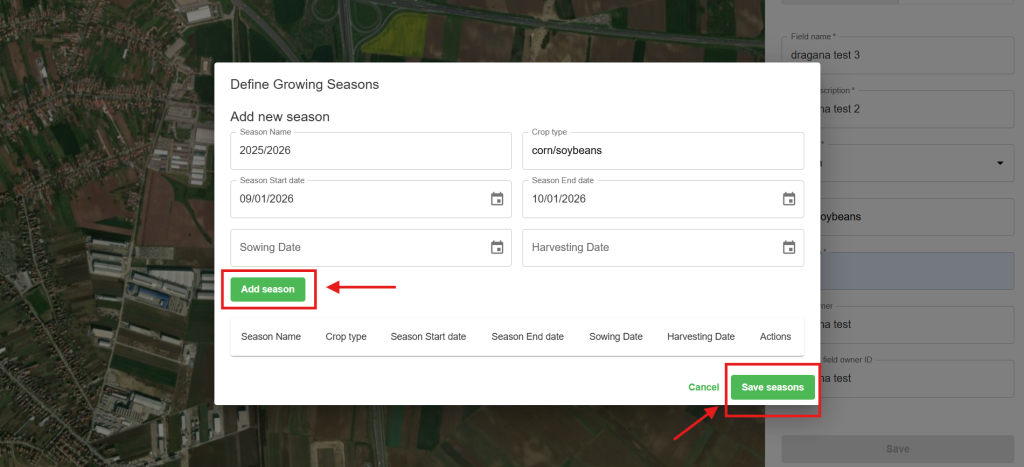
In the growing season window, it is highly recommended to enter details such as season start date, sowing date, crop type, season end date, and harvest date.
Additionally, if you need further assistance with any of the steps to create field, you can also visit our official Agremo youtube channel, where we provide a detailed video tutorial covering the entire process. For a direct guide, follow this link Create field tutorial.